My Blog List

OCDetails Guide to Detailing

|
I'm trying to get this car detailed, but the weather isn't cooperating with me. So I'll be doing it in stages it looks like. I'm still doing it in the order that I would recommend doing it. I'll combine all of these into one coherent post after it is all done and put it on my blog for now until I finish the new OCDetails.com site. The old one is really irritating me and the new one looks sooooo much better even without the pictures in it yet. Anyway, here we go. Part 1.

First thing I do is the Wheels and Tires. The reason for this is because the second area is the engine and that typically gets the tires wet. I've found that the products I use work best if the tires are dry, so I do them before I get anything else wet.

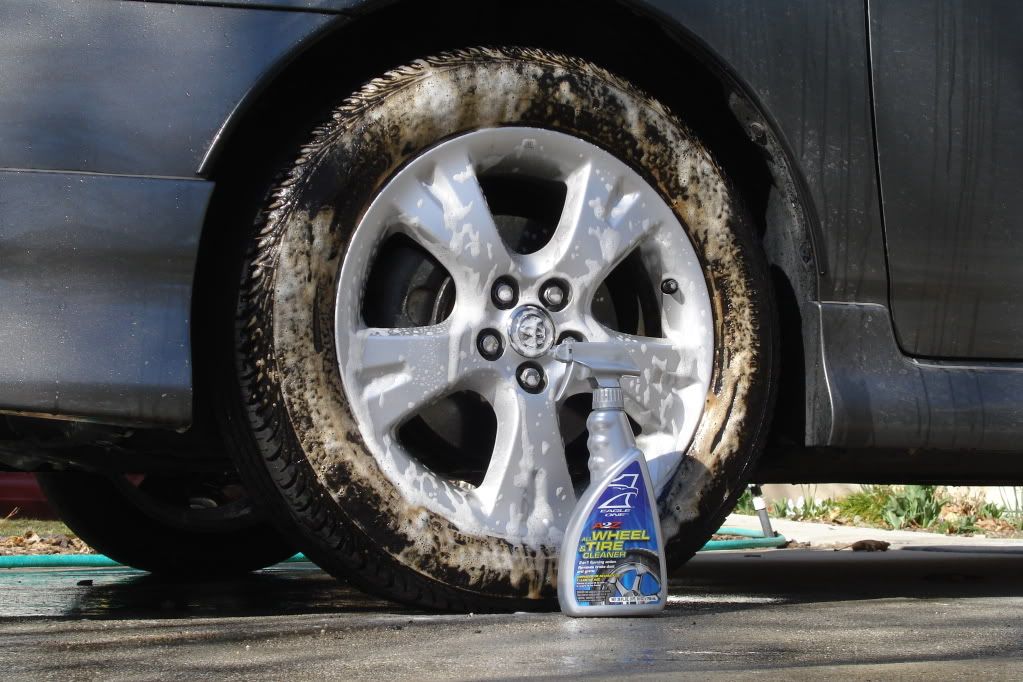
Eagle1 Wheel & Tire cleaner is one of my favorite products EVAR. I've heard that Mother's has a new one that I'm looking forward to trying, but for now Eagle 1 is it. This is a safe product for any type of wheel as long as it is factory coated or painted. If you rattle can sprayed your wheels, then you are using any cleaner at your own risk. I've used this product on $3000 wheels before and it is perfectly safe. Primarily on wheels like that I'll stick to the tires and clean the wheels by hand, but I'm not paranoid that I'll ruin them if some gets on them.

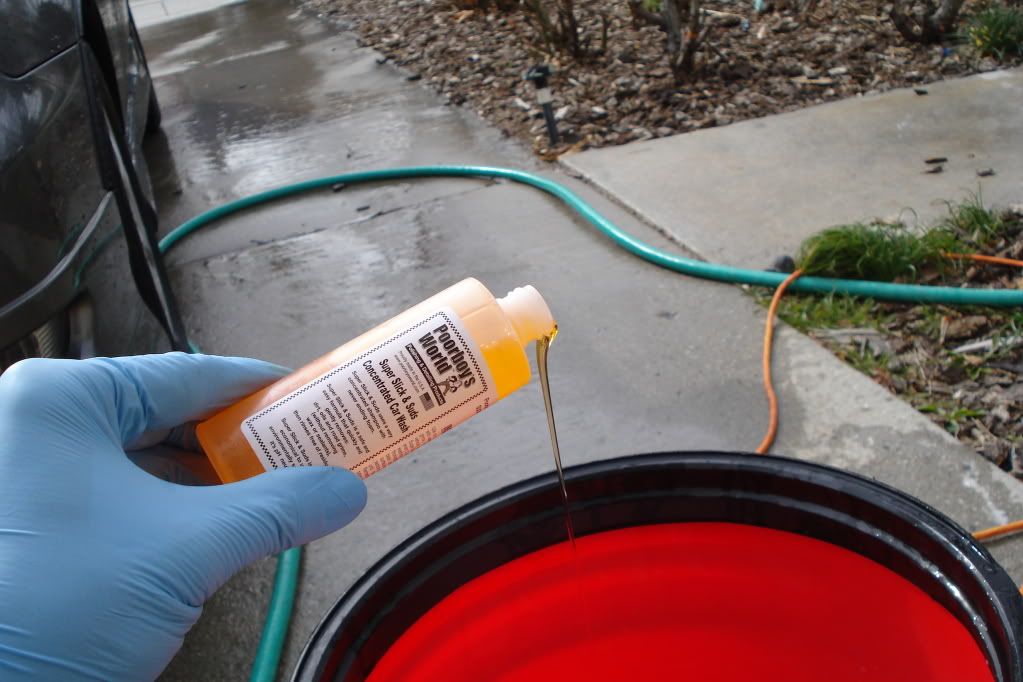
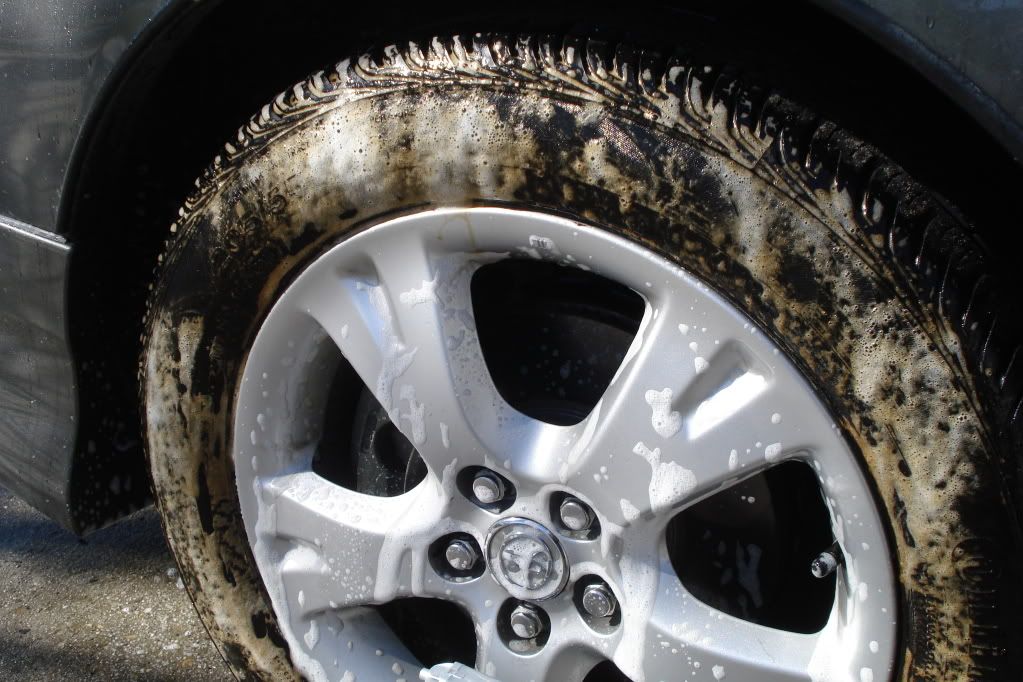
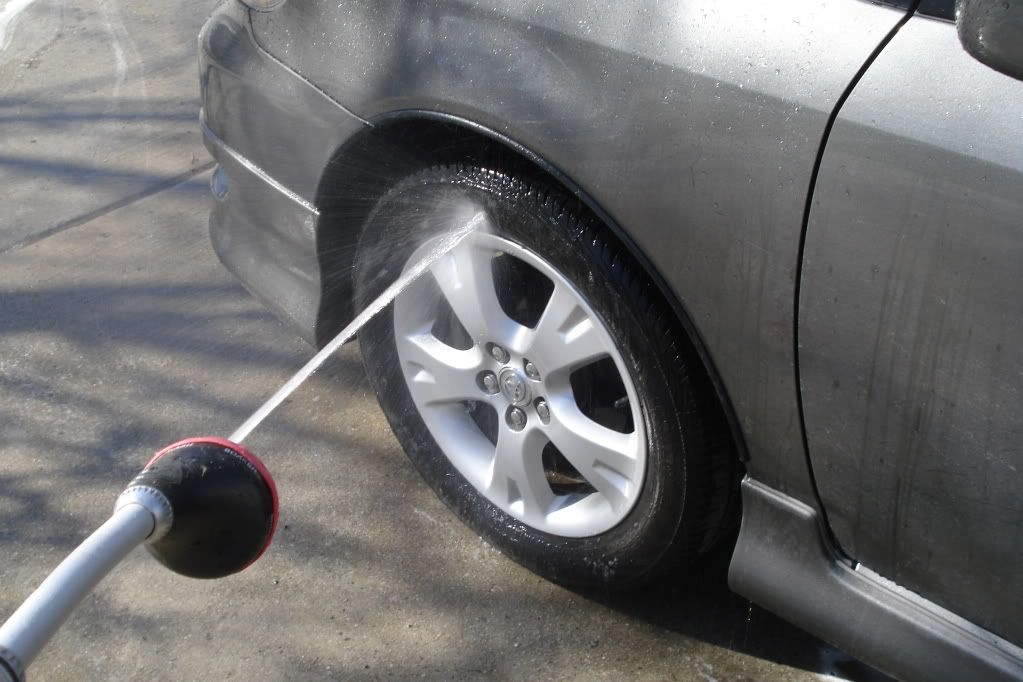
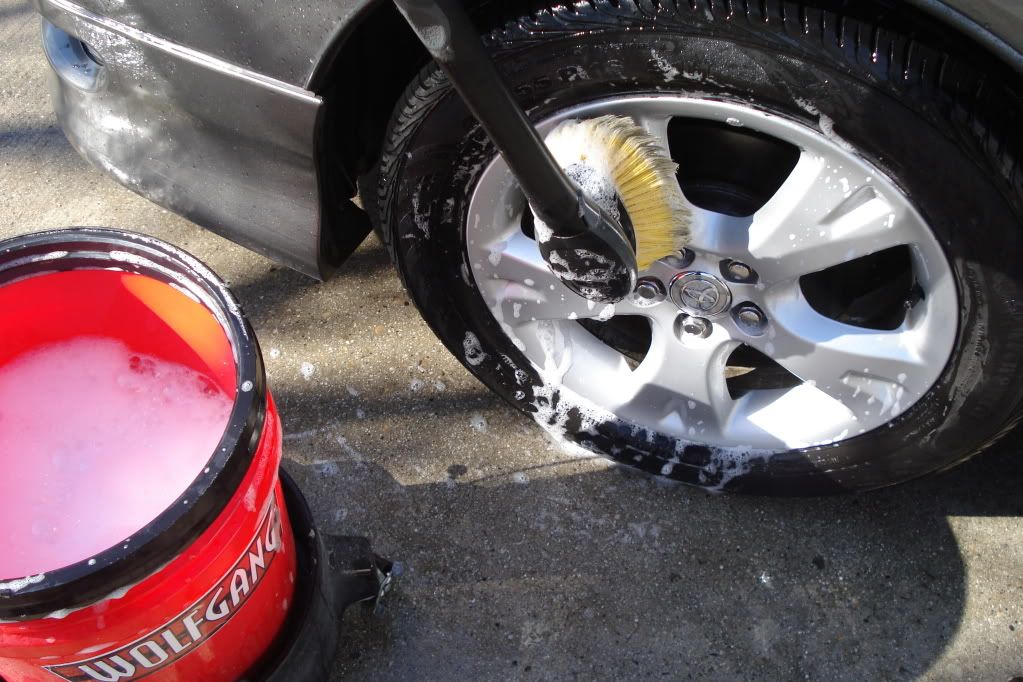
Spray the product around the tire first and then around the wheel. It is best to spray all four wheels/tires first and then go back around to the first one to spray it off. Do this fairly quickly. Especially if you have the sun on one side of your car and it is getting hot. You don't really want to deal with drip spots from this on your tires later. Spray it on and then grab a hose and spray it off. When you see the nasty orange foam dripping down the tires you'll know it is working.


Use a good high pressure stream. I'm not talking 900 PSI or anything like that, but whatever you can produce with your thumb or sprayer attachment will work fine.


Don't expect the Eagle 1 product to do all the cleaning for you. You will still want to brush your wheels to get all of the brake dust off. The Eagle 1 product just got the surface stuff and made it easier to brush. Do this after you have washed the car and then you can use the same wash water without having to fill another bucket up. We'll just pretend I've washed the car and now I'm brushing the wheels.


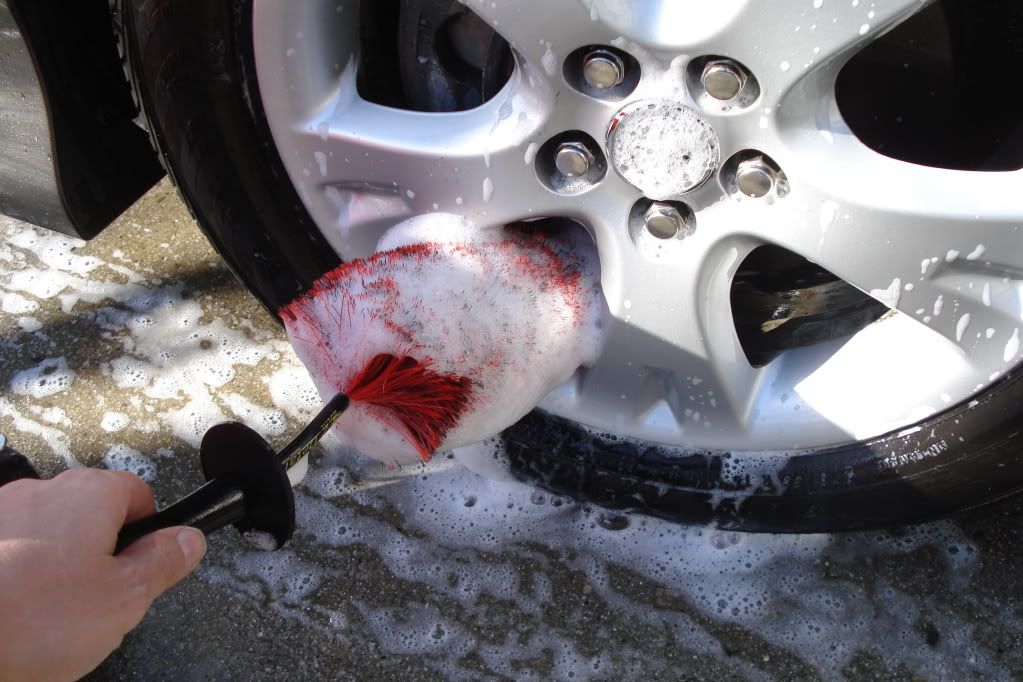
Next you may want to use a wheel brush to get in behind the spokes. I don't typically do this for my car every time, but if someone is paying me to clean their car, then I have to assume they want everything cleaned, so I do.

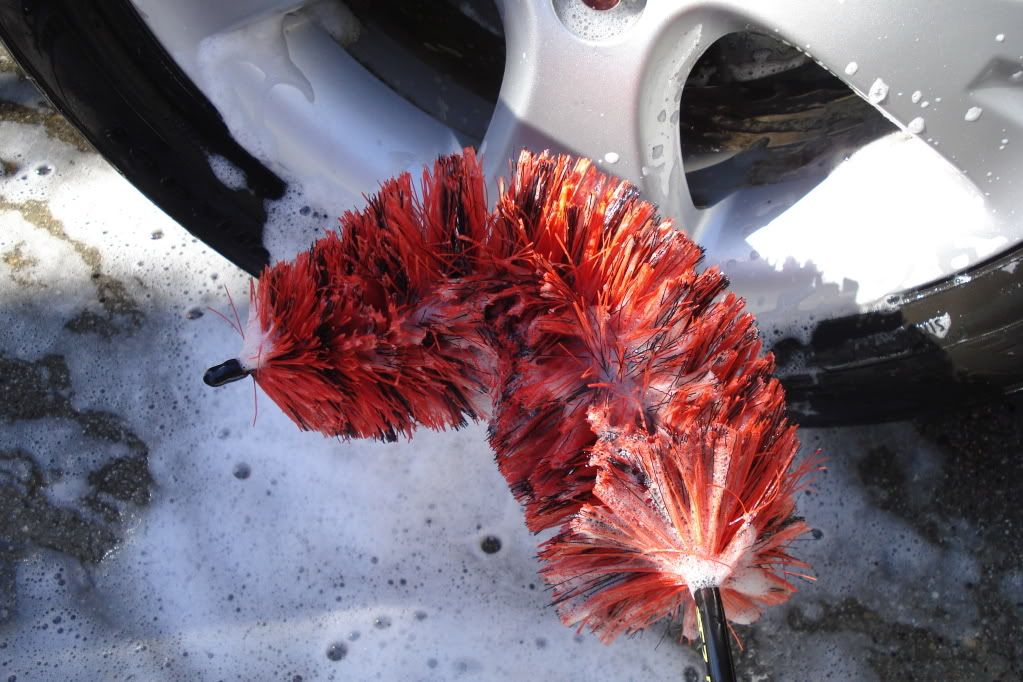
This is a tool I got from Autogeek. It is a brush they had made especially for them. I've used brushes like this in the past, but let me tell you why I use this one. Every bit of this is covered in rubber. Well, at least the bits that matter. The ones I've used in the past are just twisted wire and not covered at all. The bristles are similar to the ones found on automatic car washes. They are very safe on painted wheels, but they will scrub the dirt out. Being able to bend this in a number of ways makes getting wheels clean in a hurry without hurting your fingers or damaging the wheel. That is the most important part. Again, this is a good step to do after you wash the car so you can use the wash water. This could be done in place of using the other brush too if you wanted. It is an either/or/both type thing.


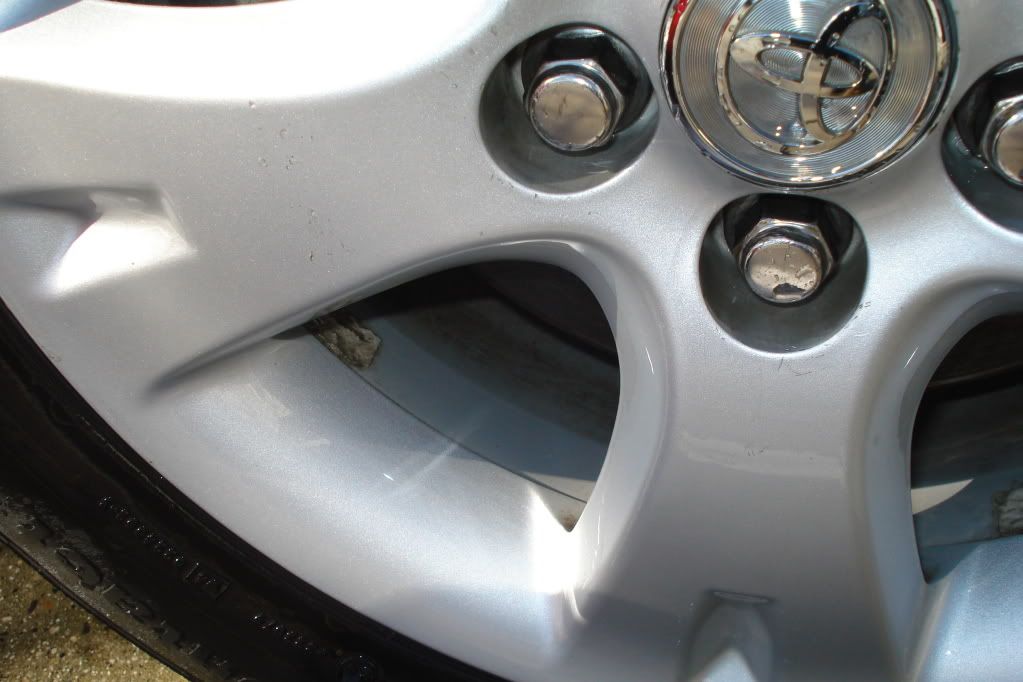
So that pretty much does it for the wheels for now. You will want to wait till the end of the detail to dress them. I like to use Eagle 1 Wet for my tire shine. I've found it is best if you apply this when the tires are dry. This causes the shine to stay there and not sling all over the fenders. However, for illustration purposes (and because I knew I wouldn't be driving my car again for three days) I dried off the tire and dressed them early. I also used Meguiar's Quick Wheel Detailer to clean up any of the tire shine overspray that got on the wheel. I found this on the discount table at Checker a couple years ago and bought every bottle I could get my hands on. It is a well worth it product. If you don't have any of this, then really any quick detailer will work just fine. I just like using products that are designed for a particular task.


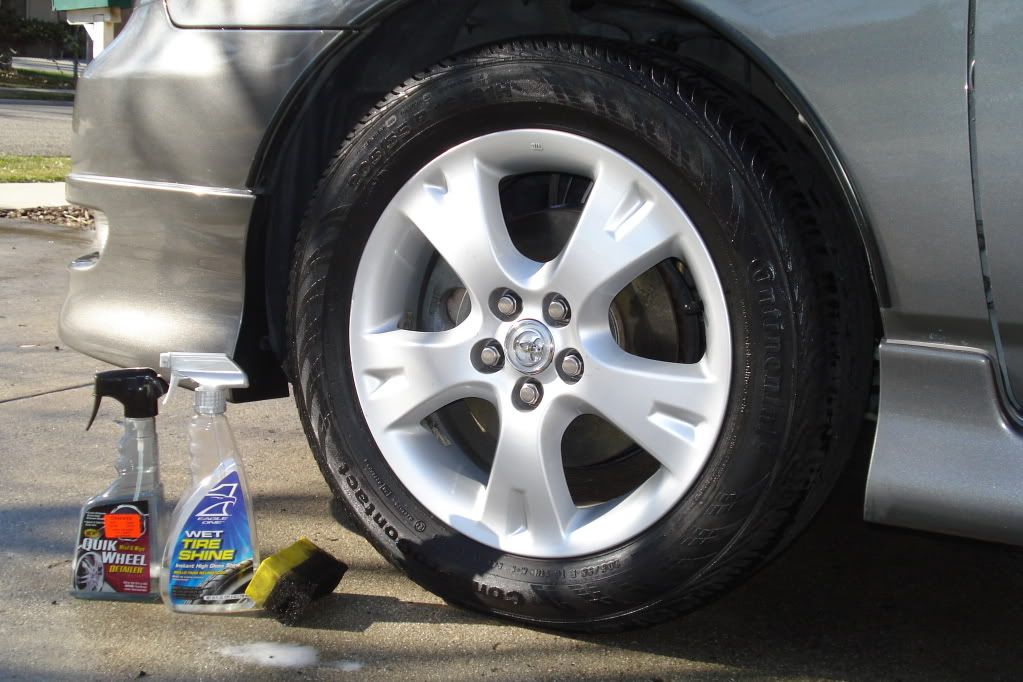
I didn't wax them or anything like that, but you can do that if you want. I've found it doesn't really make much of a difference, so I don't waste time on it. On a BMW or high dusting vehicle I would probably use a wheel sealant or just a normal paint sealant, but Corollas (at least mine) don't seem to have that bad of a problem.

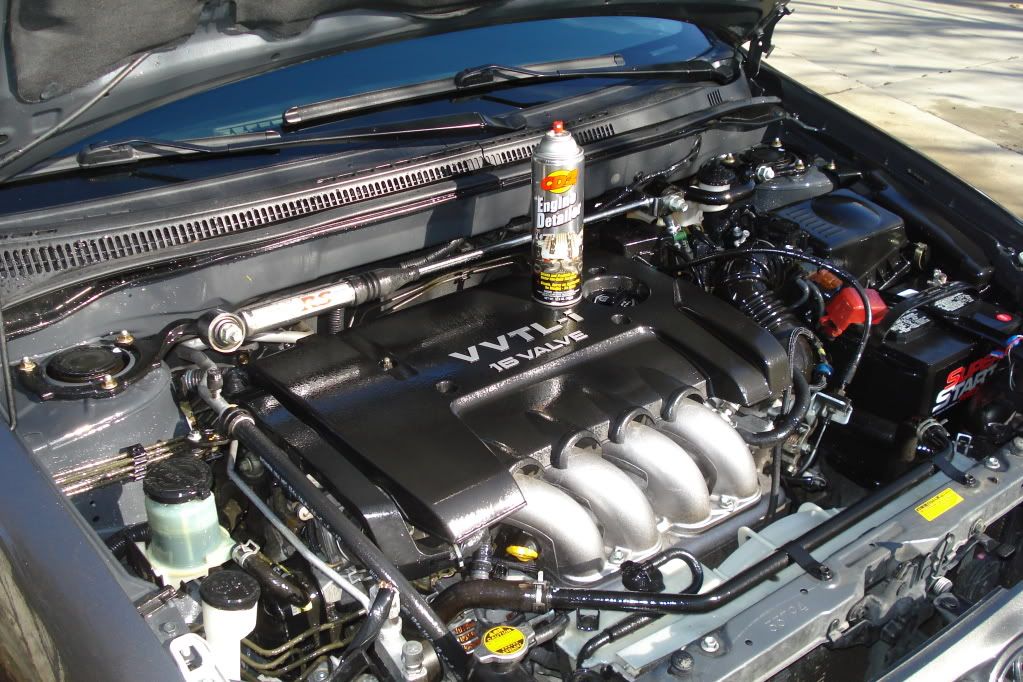
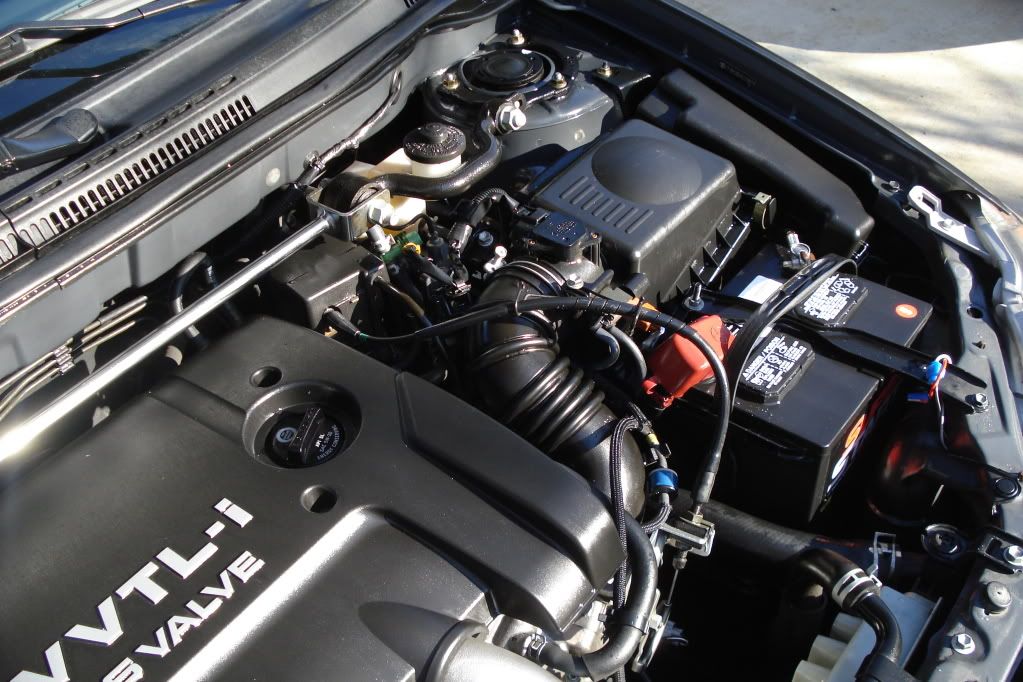
Alrighty then... Step 2 is the engine. This was an easy project for me this time because it was mostly just dusty from a long winter of driving. I detailed the engine in the fall, so it wasn't like I was going to have two years of crud built up under it. Your experience may definitely vary from this one, but here is how I did it on this particular engine.


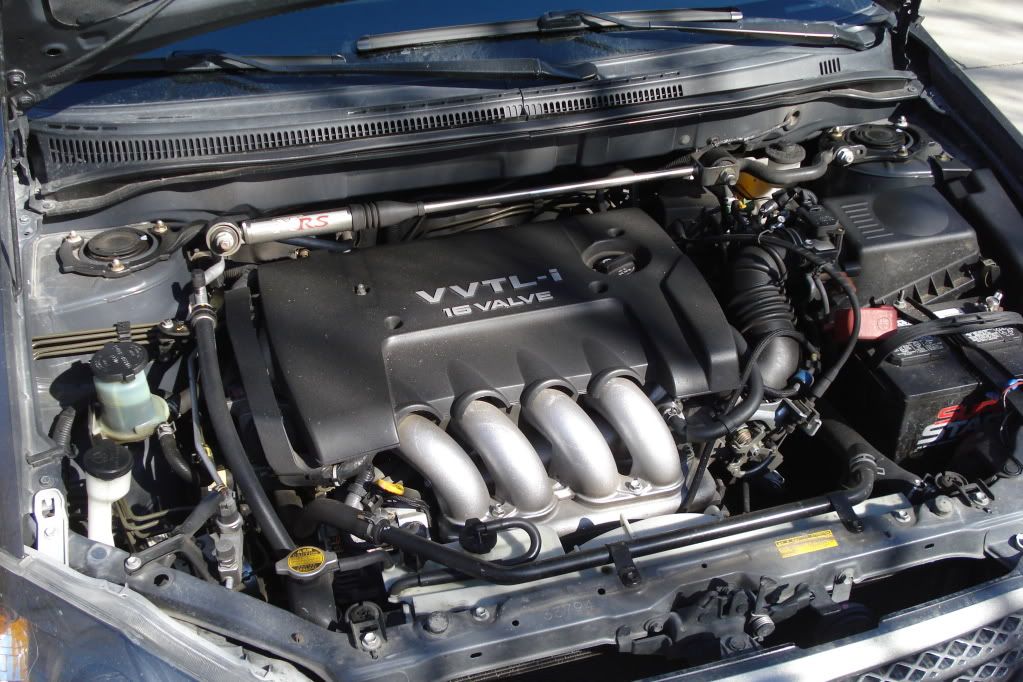
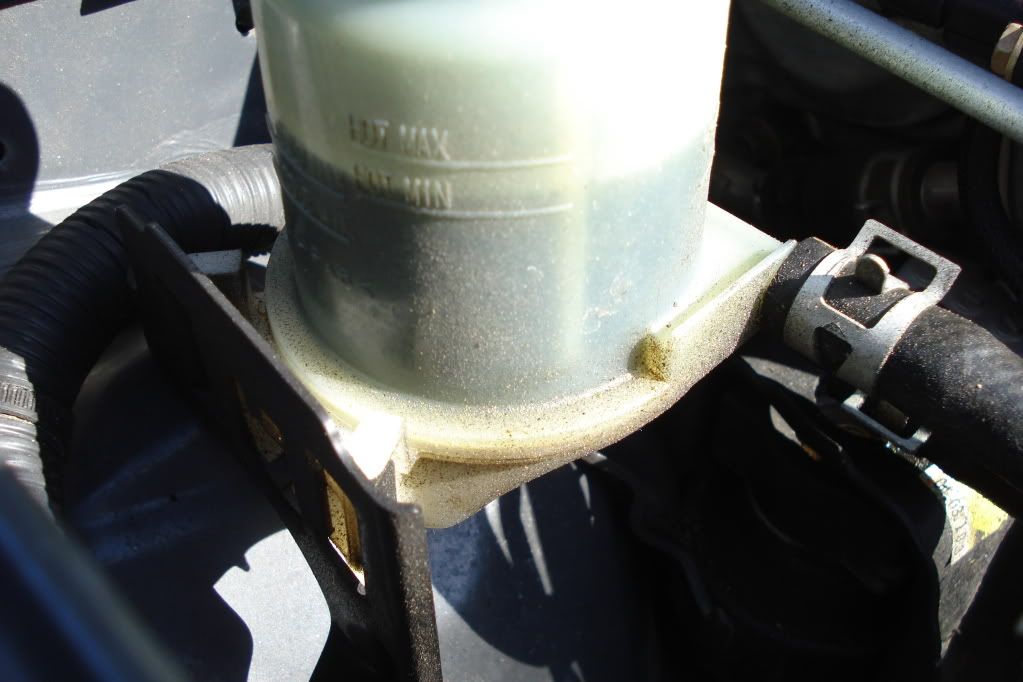
So, yeah. Not overly dirty, but there is a lot of dirt in there. This is an easy job that degreaser and a hose will take care of. I'm still going to have to get in there and wipe some things down, but it isn't going to be an hour long project or anything like that.

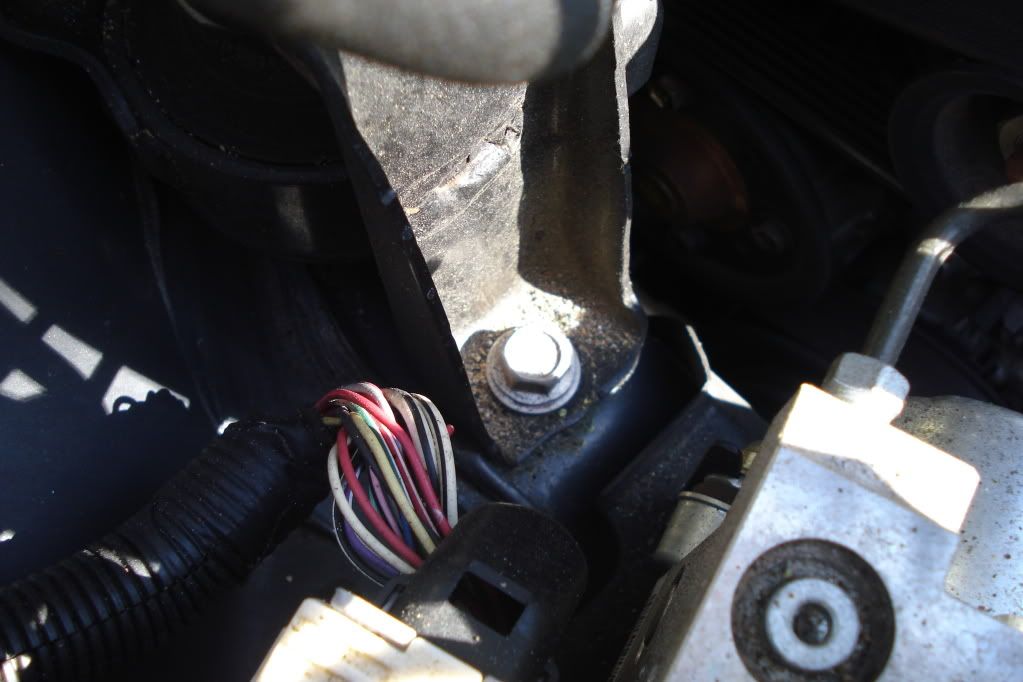
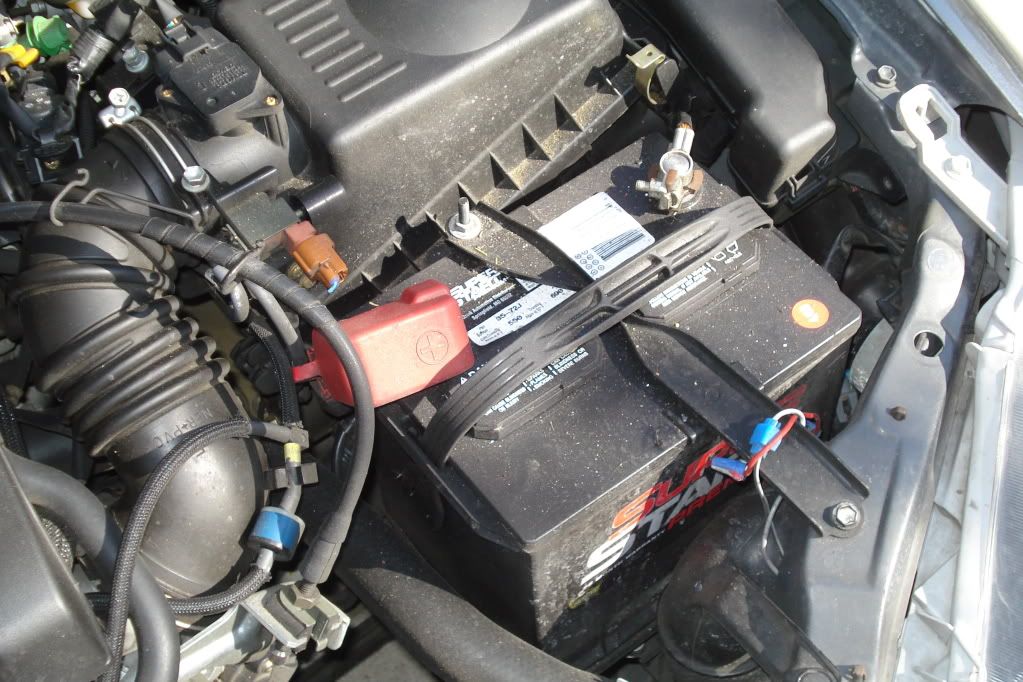
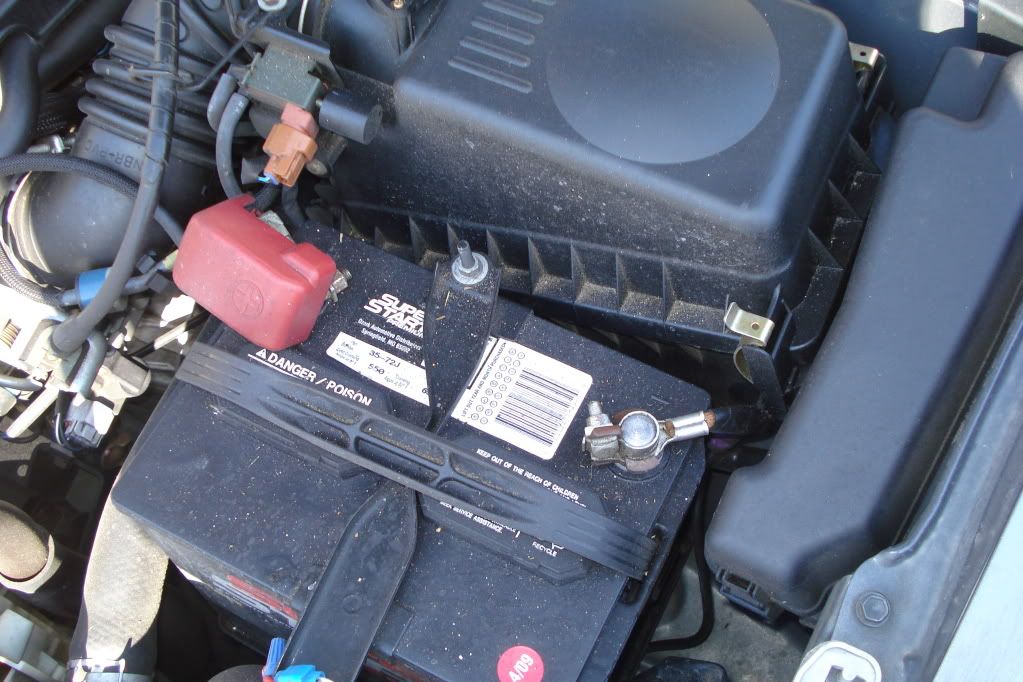
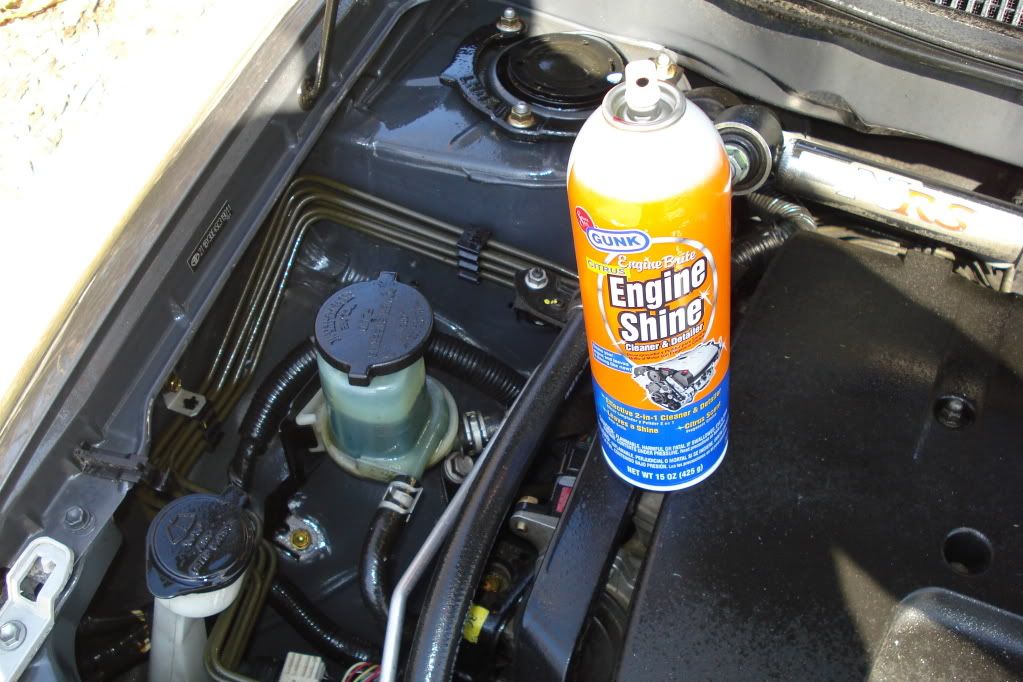
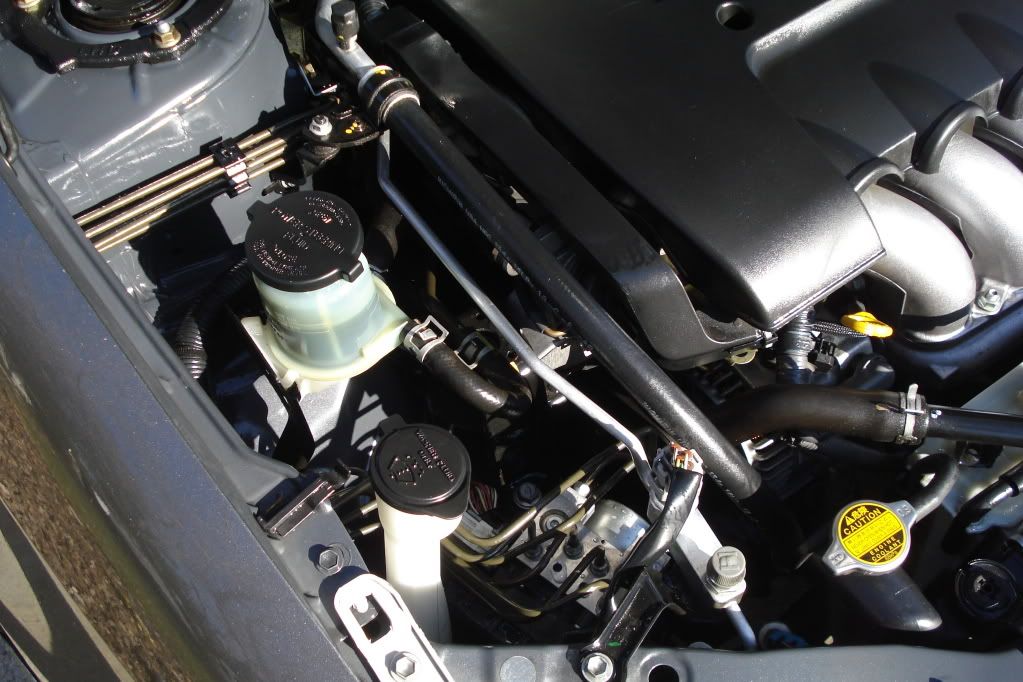
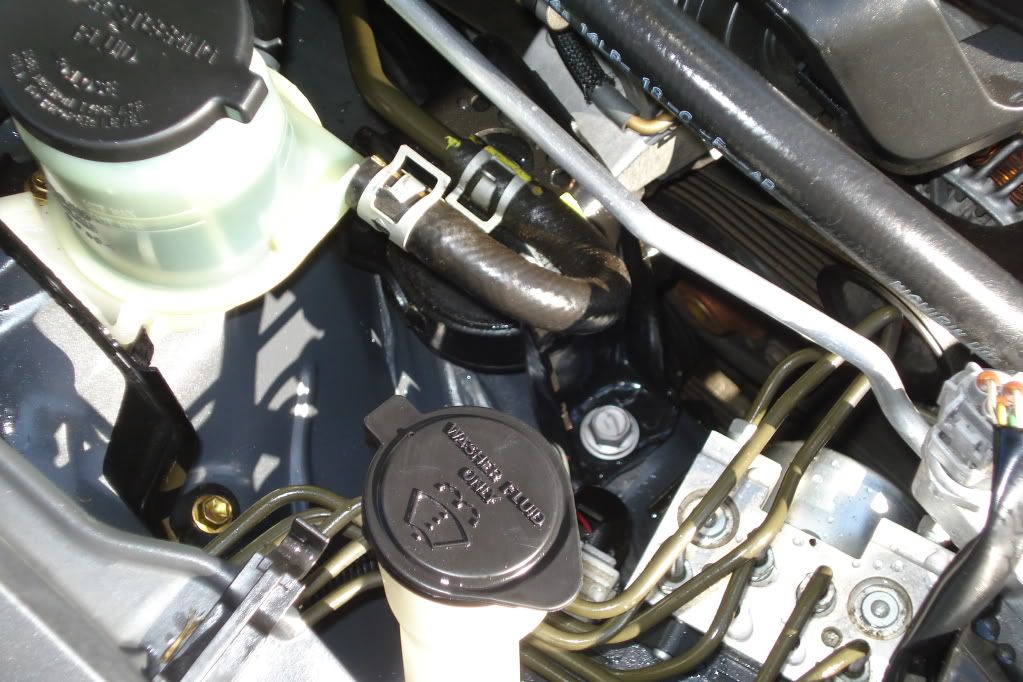
I start by grabbing a bottle of engine degreaser. I typically like to use Gunk Foaming Degreaser, but this particular bottle was on sale at Checker, so I decided to give it a shot. I sprayed down everything except for the alternator (I can't stress enough how important it is to stay away from that area with degreaser) and directly on electrical connections. I just don't like spraying degreaser there. I made sure to get it good and heavy on areas that had a lot of dirt. Around the bolts, the reservoirs, and the strut towers especially. Even the firewall is a good spot to spray down since it can get pretty greasy back there.


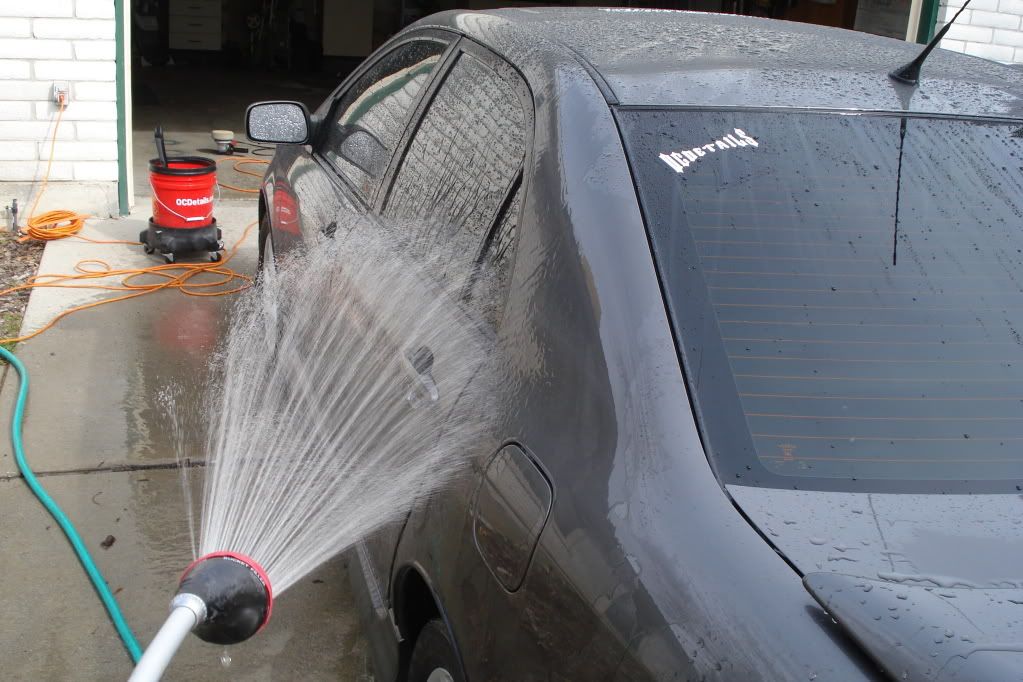
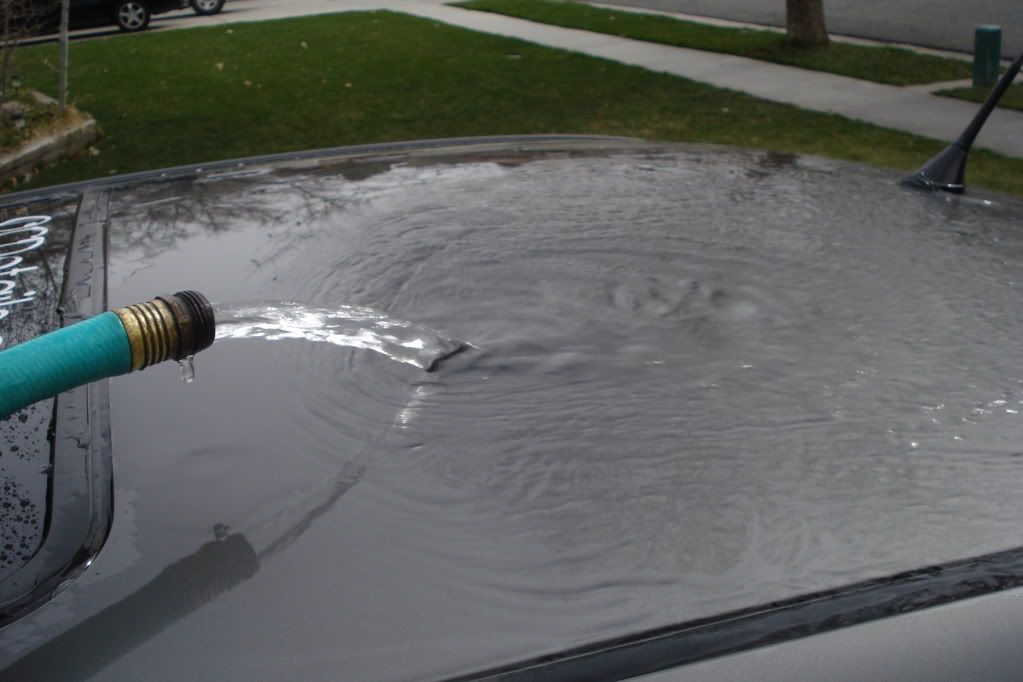
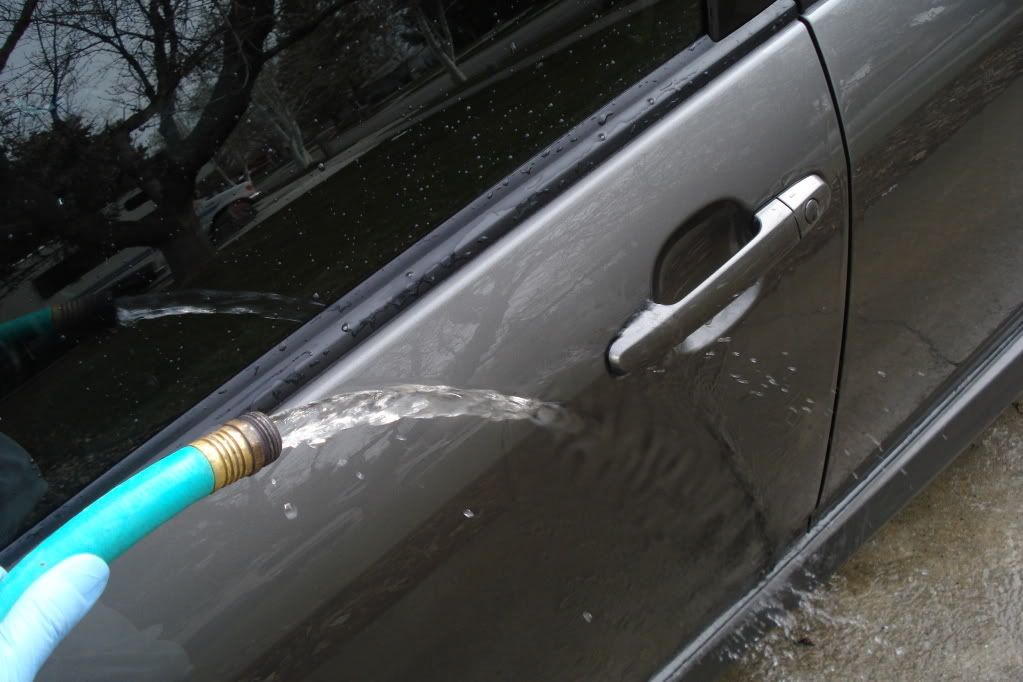
Now this next part is the easy part. I'm not advocating that you spray down your engine like a wild firefigher trying to put out a 5 alarm fire or anything, but it is ok to use a hose and a little pressure to get the grit out. Just be careful where you are spraying. Don't use high pressure around electrical connections. I used the bucket filler setting on my sprayer and turned down the hose a little so the pressure wasn't too crazy.


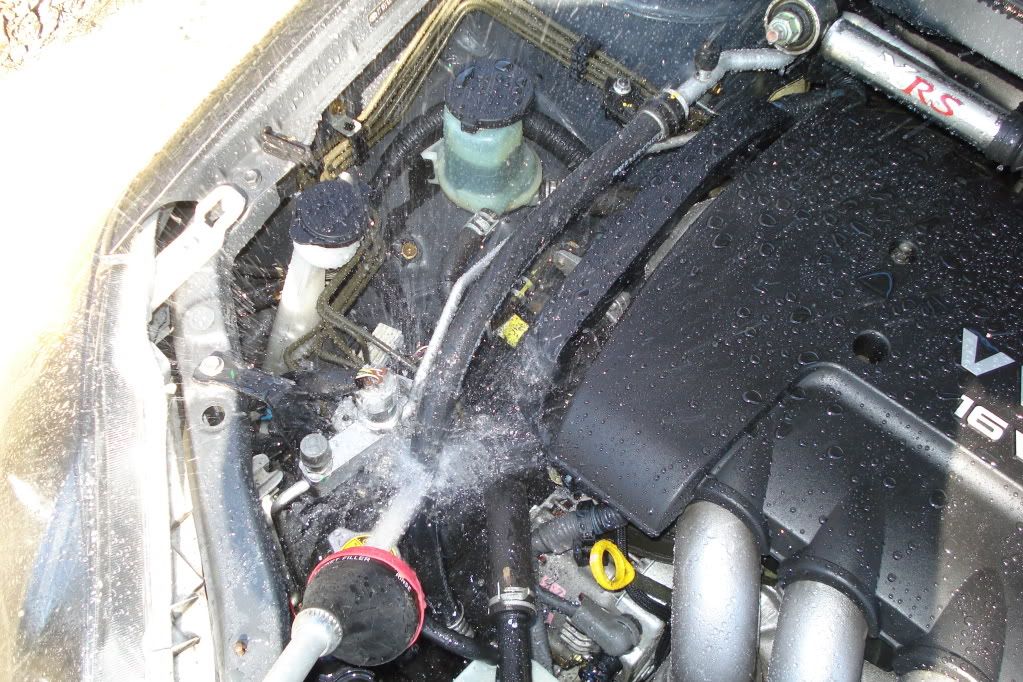
Your engine isn't made of sugar and it isn't going to melt, but you don't really need to get it too wet.

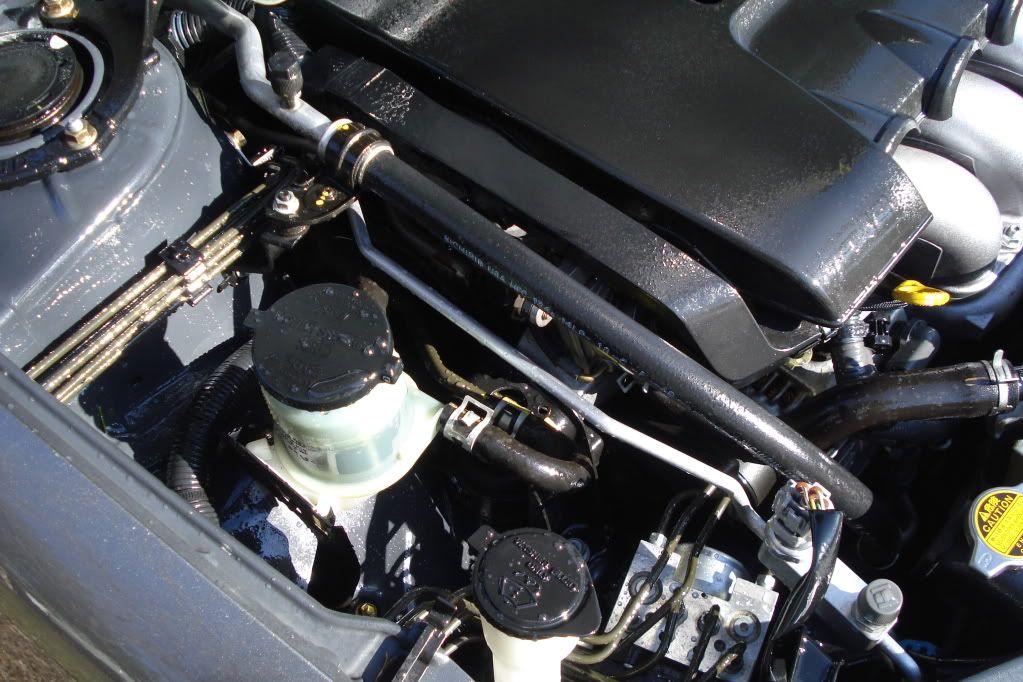
Now you can dry the engine off and go for the final step. In drying the engine you should wipe down any of the painted surfaces to ensure that they are clean. Blot out any standing water on the valve cover or strut towers. Just basically dry it off and remember that you are probably getting it a little cleaner by doing so. Sort of like what you did with the wheels. In fact, that wheel brush is a great tool under the hood too. It gets under hoses and tight spots like a champ. Definitely one of my favorites.

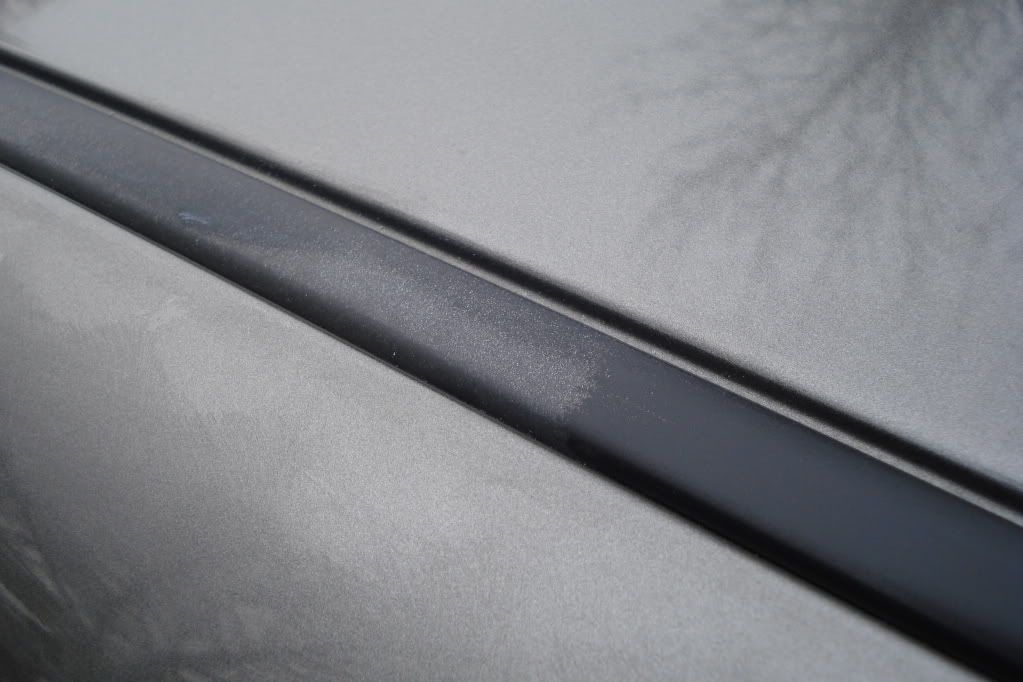
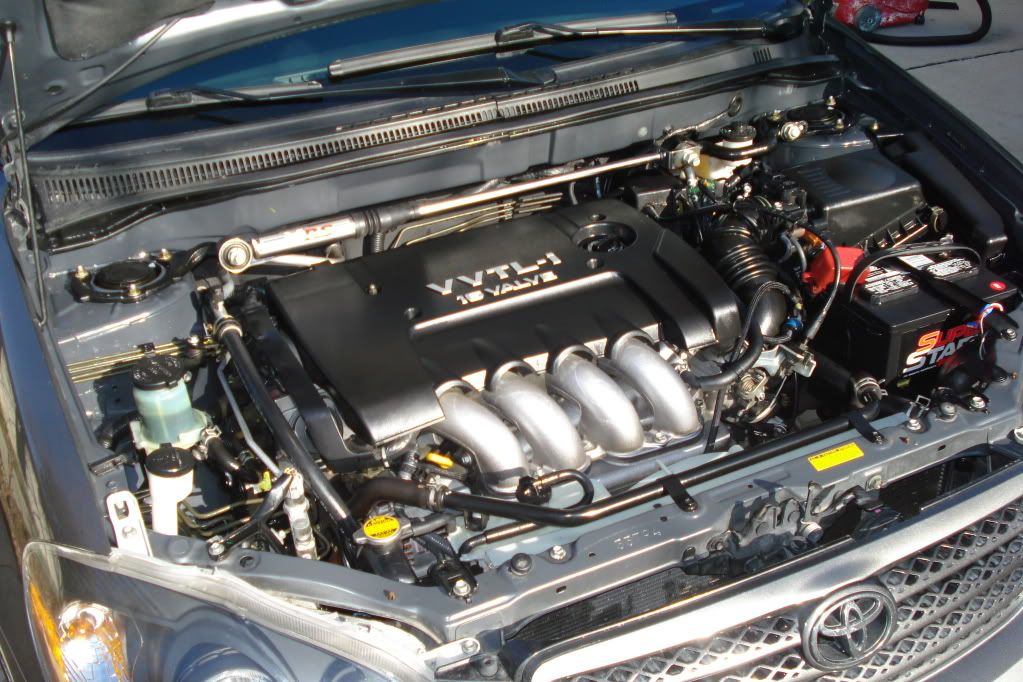
After the engine is dry you can use the CD2 Engine Detailer that I love so much. Spray down anything black, basically. It doesn't need to go on painted areas or metal, but it isn't going to hurt them if you do get it on them. This is designed to make the plastic and rubber parts really shine as well as protect them. This is far above and beyond better than just using tire shine. This won't cause your hoses to turn brown or weaken them. It also won't attract dust like mad. I last detailed my engine in October and you can see how much dirt I've attracted in the last 5 months. Trust this product.


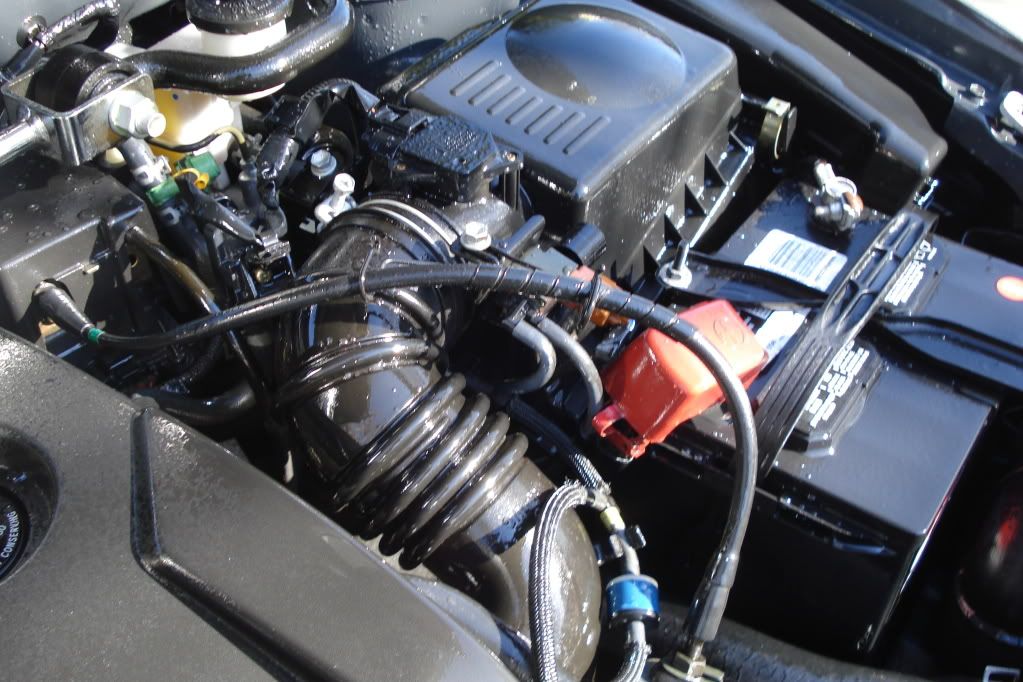
Don't use the whole can or anything, but get everything nice and soaked. Especially the hoses. Those look really sharp when it is all said and done.

Then just close the hood and start your engine. Let it heat up in there for twenty minutes or so and let the product set. Use this time to either wash the rest of the car or start vacuuming or something.

After 20 minutes you can pop the hood and buff everything off. This is when you will start to figure out how much of the product you need to use. If you have a lot of excess that hasn't dried, then you know not to use that much anymore.

Wipe down everything with a dry towel. I've got a stack of microfibers that are only for engine detailing. This is a good place to use those t-shirts and shop towels that you don't have any other use for.

After everything is wiped down then you should be able to stand back and appreciate your factory clean engine.


Stay tuned for Part 2 where we talk about washing and clay and hopefully polishing and sealant. I should be able to get all those done in one shot. Part 3 will be about the Interior.

OCDetails Guide to Detailing

|
We have already covered wheels and engines, so we’ll just start with the washing and I’ll have to put things in the right order after I have everything finished. Now, for this part of the process I’m only using products that I got from a Poorboy’s Sample Kit. I could do the engine, wheels, and tires with products from the same kit. After this whole thing is done then I’ll put together a list of the products that I got locally and everything else came out of this kit.


Step one is to do sort of a presoak. It is assumed at this stage you have already detailed the wheels & tires, so as you are rinsing those off, just wet down the rest of the vehicle. It helps loosen the dirt and makes washing easier.


Now get your soap and fill a bucket with bubbles. The soap you use is important because it does a couple important things. 1) It breaks down the dirt that is stuck to the surface. 2) It lubricates between the wash mitt/sponge/brush and the paint. And 3) it floats the dirt off the car. Using a good soap that gets lots of bubbles and doesn’t just settle to the bottom of the bucket is important.


DO NOT USE DISHSOAP. That is not a good car wash soap. It is too harsh and it will remove the wax that you have applied. So unless it is your intention to remove all the wax from your car, leave the dishsoap in the kitchen. Besides, most dishsoaps have hand moisturizers and other things that have no place on your car. I doubt it will hurt much, but extended washing with dishsoap can dry out the rubber and plastic moldings and seals on your car.

Next step is to start washing. Using either a lambs wool wash mitt or a terry cloth sponge (the safest tools), wash in the same direction that the wind moves over your car. This means back and forth. Not circles. Not random directions. Go from front to back. There is a grain to your paint that is created by the dust and ice and everything else your car drives through. If you want to give yourself some gnarly spiderwebs to deal with, then go ahead and wash in whatever direction you want. I’m giving you this advice so you cause as little damage during the washing phase as possible. This is where most of your swirls probably came from to begin with, so let’s start with some new wash habits if you aren’t already doing this.

One other piece of advice is to start from the top and work your way down. No sense in having dirty water dripping down over clean surfaces, is there?


Remember, lots of bubbles is a good thing. Rinse them off as you go so they will not dry on the car and just leave most of the dirt still sitting there. Definitely rinse as you go if you are in the sun or it is pretty hot outside.

Speaking of rinsing, once you have your car waxed, I want to share a neat tip about how to get the car rinsed and mostly dried at the same time. If you use a slow stream of water you will notice that most of the water just sloughs right off the panel. If you spray it and it splashes everywhere then you get water drops everywhere. But a slow stream will just slide all the water right off and you’ll be left with only a few drops to blot out with your towel. Give it a shot. It doesn’t do much for my car at this phase because there isn’t much by way of wax or anything else on the surface anyway.


Before you bust out your towel just yet, let’s move on to the clay stage. The extra water on the surface will lend itself to the task of clay lube. Clay lube can get expensive, so while official clay lubricant is best, soapy water works too. So that is what I use. Call me cheap, but I use what works and if it is cheap, then all the better.

Clay doesn’t have to be a mystery to people, but I’m always surprised how many people don’t know what it is. I’ve got a full clay article on OCDetails.com if you really want to know about it, but we’ll just keep it simple here.

You can get a bar of Clay Magic at AutoZone for somewhere around ten bucks. It will even come with a bottle of clay lube that will work for about one car and then you are on your own. When you get your 100 gram bar of clay you will want to break it into smaller pieces as you go. Don’t use the whole bar at once. The reason for this is because there is always the chance that you will drop your clay at some point and contaminate it with gravel and grit. You wouldn’t want to burn a whole bar if that happens.

I follow a simple rule of thumb. Quite literally, in fact. I break off pieces about the size of my thumb and work with that until I need another piece. You can generally get half a dozen cars at least out of a clay bar if you aren’t dropping pieces. Depending on how messed up the cars are that you are detailing, you could possibly get quite a few more than that I’d wager.


Spray the surface with your clay lube and glide the clay in the same direction you washed in. Claying may cause microscratches, but since the next step is to polish the paint anyway, I don’t worry about that. Don’t be surprised if you see them after you are finished claying though. Considering what the clay is removing from your paint, I’m surprised that the scratches aren’t deeper.

Because I use soapy water for clay lube, it often times leaves quite a mess. So I give the car another once over with the hose and wash mitt again. Just to be safe.


Now the car definitely doesn’t bead any water or give any indication that there is protection on the paint. Good. Now I can get to polishing. First, let’s dry the car.

There is a great tool I’ve been using for years called the California Water Blade. If you keep the blade clean, it is very effective at getting the water off the car. Like any tool, if you use it wrong then you can do damage. I always run my fingers along the blade every second or third swipe just to make sure there isn’t any grit there. When the car is sheeting water I find this to be a very effective time saving tool when it comes to drying the car. It works great on windows too. Just remember to start at the top and work your way down. If you dry the hood and then flip a bunch of water from your windshield on it, then where does that leave you? Try to find a process that doesn’t make you repeat any part of the process.


When you finish swiping most of the large areas dry, you’ll still have a few spots that need drying. I strongly recommend a good quality waffle weave microfiber towel for the drying. Remember that microfiber comes in all sorts of grades. They make everything from underwear and bathrobes to hats and jackets out of the stuff, so there is bound to be a difference in softness. Don’t just use any ole ‘microfiber’ towel on your car. Especially when you are drying it. Personally I’ve never found a microfiber towel locally that I would use anywhere other than under the hood or in the interior of my car. The best microfiber towels are found online. If someone asks me then I’d tell them that I get mine from Autogeek.net, but you can get them in a number of places. This one is one I got from Autogeek a few years ago.


When the car is dry you can move right into polishing. I’m using the FLEX 3410 just because I love this machine so much, but the PC7424 is still a very capable machine. They are both random orbitals, but the FLEX has an entirely gear driven movement that makes the job go about 30% quicker for me. Since I was polishing my car and my wife’s van today for this article, I needed the speed.

I’m going to use Poorboy’s SSR2 and a blue Edge 2000 foam pad. The reason for the SSR2 is because I’ve got some swirls, but they aren’t that bad. The paint isn’t the easiest to cut though, so the SSR1 wouldn’t quite do it. I could probably use a yellow pad and SSR1, but then I would have pad haze to clear up and I’d have to polish twice. So I’m using a more aggressive polish and a less aggressive pad to get the results I want. You’ll find that I do that quite a bit. It just comes from practice. You’ll figure out what works best for you.


Apply about this much product to the pad. This too you’ll sort of figure out as you go. I just sort of draw a circle half the size of the pad and call it good.


Put the machine against the paint and start the machine on a slow speed to spread the product around. Then kick it up to 5 and start to work. Go in a criss cross pattern to ensure the best coverage. So go up and down and then back over it from side to side. You’ll get the feel of when the polish is done doing what it needs to do, but the best thing to do is check your work frequently. Buff off a section and see where you are at before going on to the next panel. This will help you know how severe your swirls are and how long you need to work the machine and polish before you get the results you want.

Since my car doesn’t photograph swirls well, we’ll use the van for this example. Same products and process.


Remember that if you are detailing a daily driver that it is ok to leave a few marks on the paint. Seriously, n o b o d y is going to notice them. Well, nobody except for me and you probably, but that doesn’t matter. To anybody else your car is going to look perfect. Don’t over obsess or it will drive you nuts. A daily driver is going to get swirls again the first time you drive it to work, so get comfortable with a certain level of ‘good enough’.

Occasionally you’ll be going along in your polishing and you’ll hit a drip or a nice flow of water. This always happens on the back of the car, but you’ll pull water out from under the door handles like this too. When this happens you will want to wipe it up quick. This kind of mess is a real pain to clean up when it dries. Wipe it down and spin the water out of your pad before going over the spot again. Trust me on that. It makes buffing it off much easier.


Now buff the polish of and pick your poison. I’m going to give Poorboy’s Black Hole a shot. It is some sort of a glaze or something, but it says you can put a sealant on top, so that is what I’m going to do. I’m going to apply Black Hole and then EX-P.


Same process here as when you did the polishing. I don’t necessarily always do the whole criss cross pattern thing, but sometimes I do. You just want to make sure you get coverage everywhere.

The reason I use the Edge 200 pads is because after I finished applying and buffing off the Black Hole and it was time to apply the EX-P, all I had to do was flip the pad over and I was ready to go. I didn’t have to go find another pad so that I didn’t mix my products up. I don’t’ know that it would make a whole lot of difference, but this is the first time I’m layering these two products, so I don’t want to mess anything up. So a quick click and flip and I’m ready to go with the EX-P.


Whoops!! Yeah, so I didn’t mask anything off like I normally would have, but that was on purpose. I wanted to show you what happens when you hit your trim and seals with your polisher and how to clean it up.


You’ve seen that before I’m sure, right? Well, it isn’t so bad to clean up. My wiper cowl can get to looking like that sometimes too.


The solution there is Poorboy’s Trim Restorer. It does a fantastic job on polish stained trim and general damage to plastic and rubber.


Not bad, eh? Definitely look into getting some of that. It is awesome. It isn’t quite a gel, but it is thicker than Armor All. Sort of like soap, only thinner by a little bit. You can either apply it directly on the piece you are working on, or just apply it to the towel and rub it in. You’ll be amazed at what a difference it makes.

So now you can clean your glass (I don’t really need to tell you how to do that, do I?), dress your tires, and admire your work. It looks so much better than when you started.


Notice how the body lines will glow more than they did before. I don’t care how clean you get your car by washing it. You’ll never get appearance like this until you polish it and use a quality sealant or wax on it. The difference is blinding. I’ll get some pictures in the sun perhaps later. It was a cloudy day and that doesn’t make for good pictures, but here are the results of my efforts today.